Gold Magma Soap - The Magma Soap Challenge
The cold process part of the finished soap was scented with Clary Sage, Petitegrain, Eucalyptus, Cassia, and Bay essential oils, while the melt and pour portion was scented with Vanilla FO
To give the soap a holiday feel, I used green (Chromium Oxide Green Powder) and white (Titanium Dioxide) for the cold process soap, and heavy gold Mica for the melt and pour soap.
Since I only have a 3 pound mold, I used a software package called SoapMaker to reduce the recipe by 65% (or was it 70%). Here is the recipe, I used:
2 oz Castor
12 oz Coconut Frac
14 oz Olive Pomace Oil
7 oz Palm Oil
5 oz Sodium Hydroxide (7.5% Lye discount)
12 oz Water (10% Water discount)
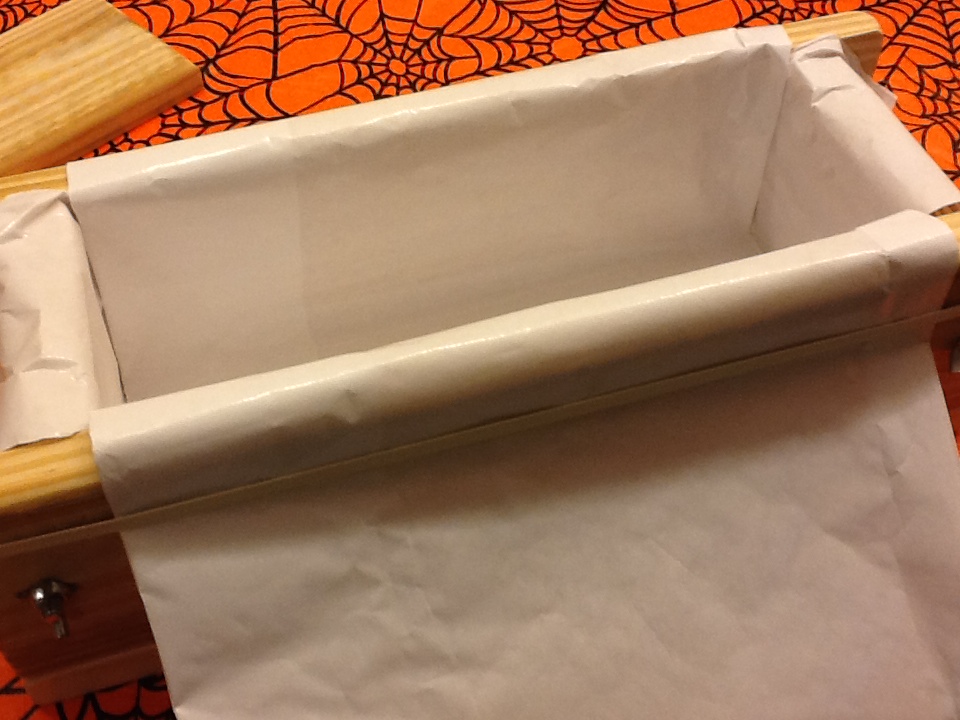
First I lined my mold.


I then measured my soft and hard oils and melted them in the microwave. It took about 2.5 minutes to melt the oils.
While the lye solution and oils were cooling, I mixed 1 tsp of Chromium Oxide with 1 tbsp of oil, measured out my essential oils and mixed the vanilla fragrance oil with the vanilla stabilizer.

 I mixed 1/4 tsp of Heavy Gold Mica into 1 tsp of glycerin. And cut 10 oz of clear melt and pour into cubes.
  The melt and pour soap was put in the microwave on 30 second bursts until fully melted. At that point, I added all of the mica and glycerin mix to the melt and pour soap base
Now I waited until all the various ingredients were within the correct temperature range.

Things began to happen really quickly once the oil reached 111 degrees and the lye was 109. I added my essential oil mix to the oils ( I normally do not do this, but saw that Amy Warden did this in her video - so I thought that I would try it out). I then mixed the lye and oil solution together - and almost instantly the soap was thick.
I quickly added the vanilla fragrance oil/stabilizer to the melt and pour soap base and stirred well. The melt and pour soap was at 135 degrees.
Next I separated the cold process soap into two even batches and added the Titanium Oxide to one half and the Chromium Oxide to the other half.

I quickly began to pour the soap into the mold using zig-zag motions. The cold-process soap was quite thick, so I ended up plopping the soap into the mold. As I poured, the melt and pour soap base, I noticed that most of it was falling down the side of the mold.

I barely had time to swirl the soap back and forth in the mold. It already felt like it was pretty solid.
For the top of the soap, I glopped the green and white soap on top and attempted to create some sort of 'pretty pattern'. I then embedded some gold colored melt and pour chunks on the top of the soap. From the top, the soap does not look that bad.

I covered the soap and put it in the refrigerator for 2 hours to prevent gel. Then I let the soap sit for 24 hours.
Today, I could hardly wait to see what the soap looked like.

My suspicions were confirmed, much of the melt and pour soap had pooled up along the sides and bottom of the mold. A lot of it had oozed out of the liner and onto the mold itself. I had to take the mold apart to get the soap out.

The soap smells perfect - a little holiday green with the warm tones of vanilla and cinnamon. I am not as happy with how the soap the looks. Some of the bars hardly have any gold in them - and I don't think that I visually captured a 'holiday' feel with the green, white and gold. Perhaps red, white and gold would have worked better.

Thanks Amy for hosting this challenge.
Looks great for your first try!! You have a very nice marbled effect! The blend sounds magical even if it didn't behave very well! :) Thanks so much for participating - I hope you had fun and will try this technique again!
ReplyDeleteThank you. I love watching your videos and looking at your soaps. They are so inspiring.
DeleteLovely swirl you got!
ReplyDeleteThank you.
DeleteThis comment has been removed by the author.
ReplyDelete